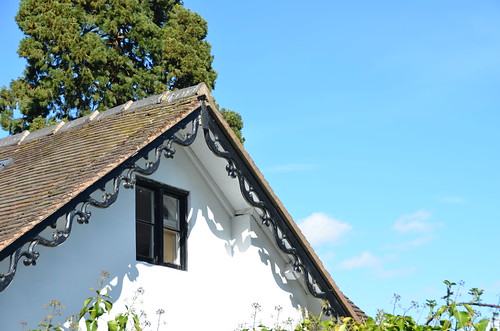
Fascia
is the name for the horizontal boards that are nailed across the edge
of the roof, behind the gutters on your house. Many people choose to
install aluminium fascia panels over their original wooden fascia
boards to help protect their house from heavy downpours of rain and
other poor weather conditions. Aluminum fascia is more durable and
protective than the wooden alternatives available.
If
the fascia on your house has become damaged for one reason or
another, then it is important to replace it. This can be done by a
professional, but you may want to have a go at doing it yourself to
save on costs. Installing fascia can be a little tricky, especially
for beginners that do not have experience in placing fascia
correctly. Follow our simple instructions below to help you carry out
the job in minimal time.

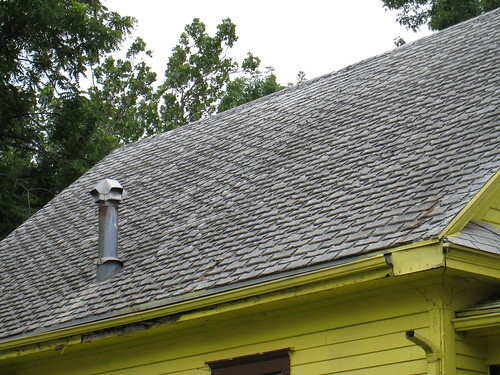
Installing
roof fascia can protect your house from damaged caused by rain and
poor weather.
Preparing
the fascia
Before
you can begin installing your fascia you will need to make a few
preparations. First you will need to measure the width from the eaves
of the roof to the bottom of the joist. You will need to climb up a
ladder to do this so make sure that you have set it up and secured it
properly first. Once you have recorded the measurement, mark it onto
a piece of fascia board using a pencil.
You
will then need to lay the fascia board down on a flat surface and
line up the mark you have made with the blade of a circular saw. The
aim is to guide the saw along the mark so that you create a straight
cut down the fascia board.
Installing
the fascia
To
begin installing the fascia you will need to line it up with the side
of your house and hold it in place. You will then need to insert two
screws into each joist by using a power drill. You may require the
help of someone else to steady the fascia board whilst you drill in
the screws. One screw needs to be drilled through the top of the
fascia board and then the other screw needs to be drilled through the
bottom of the fascia board and into the joist.
Once
completed, you will then need to move down to the next joist and
drill into two more screws. Continue to do this in the same way as
you did for the first piece of fascia. This process needs to be
carried out for each piece of fascia, until it has been installed all
the way around the sides of your house. It is important to make sure
that you have cut each piece of fascia board to size for each side.
The
purpose of fascia
Fitting
fascia boards to your home can help protect the rafter and joist ends
from all types of poor weather. Years of exposure to poor weather can
often leave your home exposed to damp, condensation and decay. These
are all things that can put people off purchasing your home in the
future and may result in you having to lower the asking price or make
expensive repairs. By keeping your rafter and joist ends in good
condition through installing fascia, you can save yourself a lot of
unnecessary hassle and expense.

Today
fascia is a lot more aesthetically pleasing than it used to be. It
can even be used to add a decorative touch to your property.
The
great thing about installing fascia is that it does not require any
heavy maintenance. You may just need to give it a wipe over every now
and then to keep it looking clean. Using PVC
cladding will
benefit your home in the long run as you will not have to worry about
rot appearing nor will you have to fork out for paint. It will also
add value to your property.In the past people were often put off from
installing fascia on their houses, as it looked unsightly, however
today companies offer fascia in all sorts of materials and colours so
that they complement the style of different houses and can actually
add to their aesthetical appeal.
Image
credits: Michael
Cornelius
& IBBoard


0 comments:
Post a Comment